
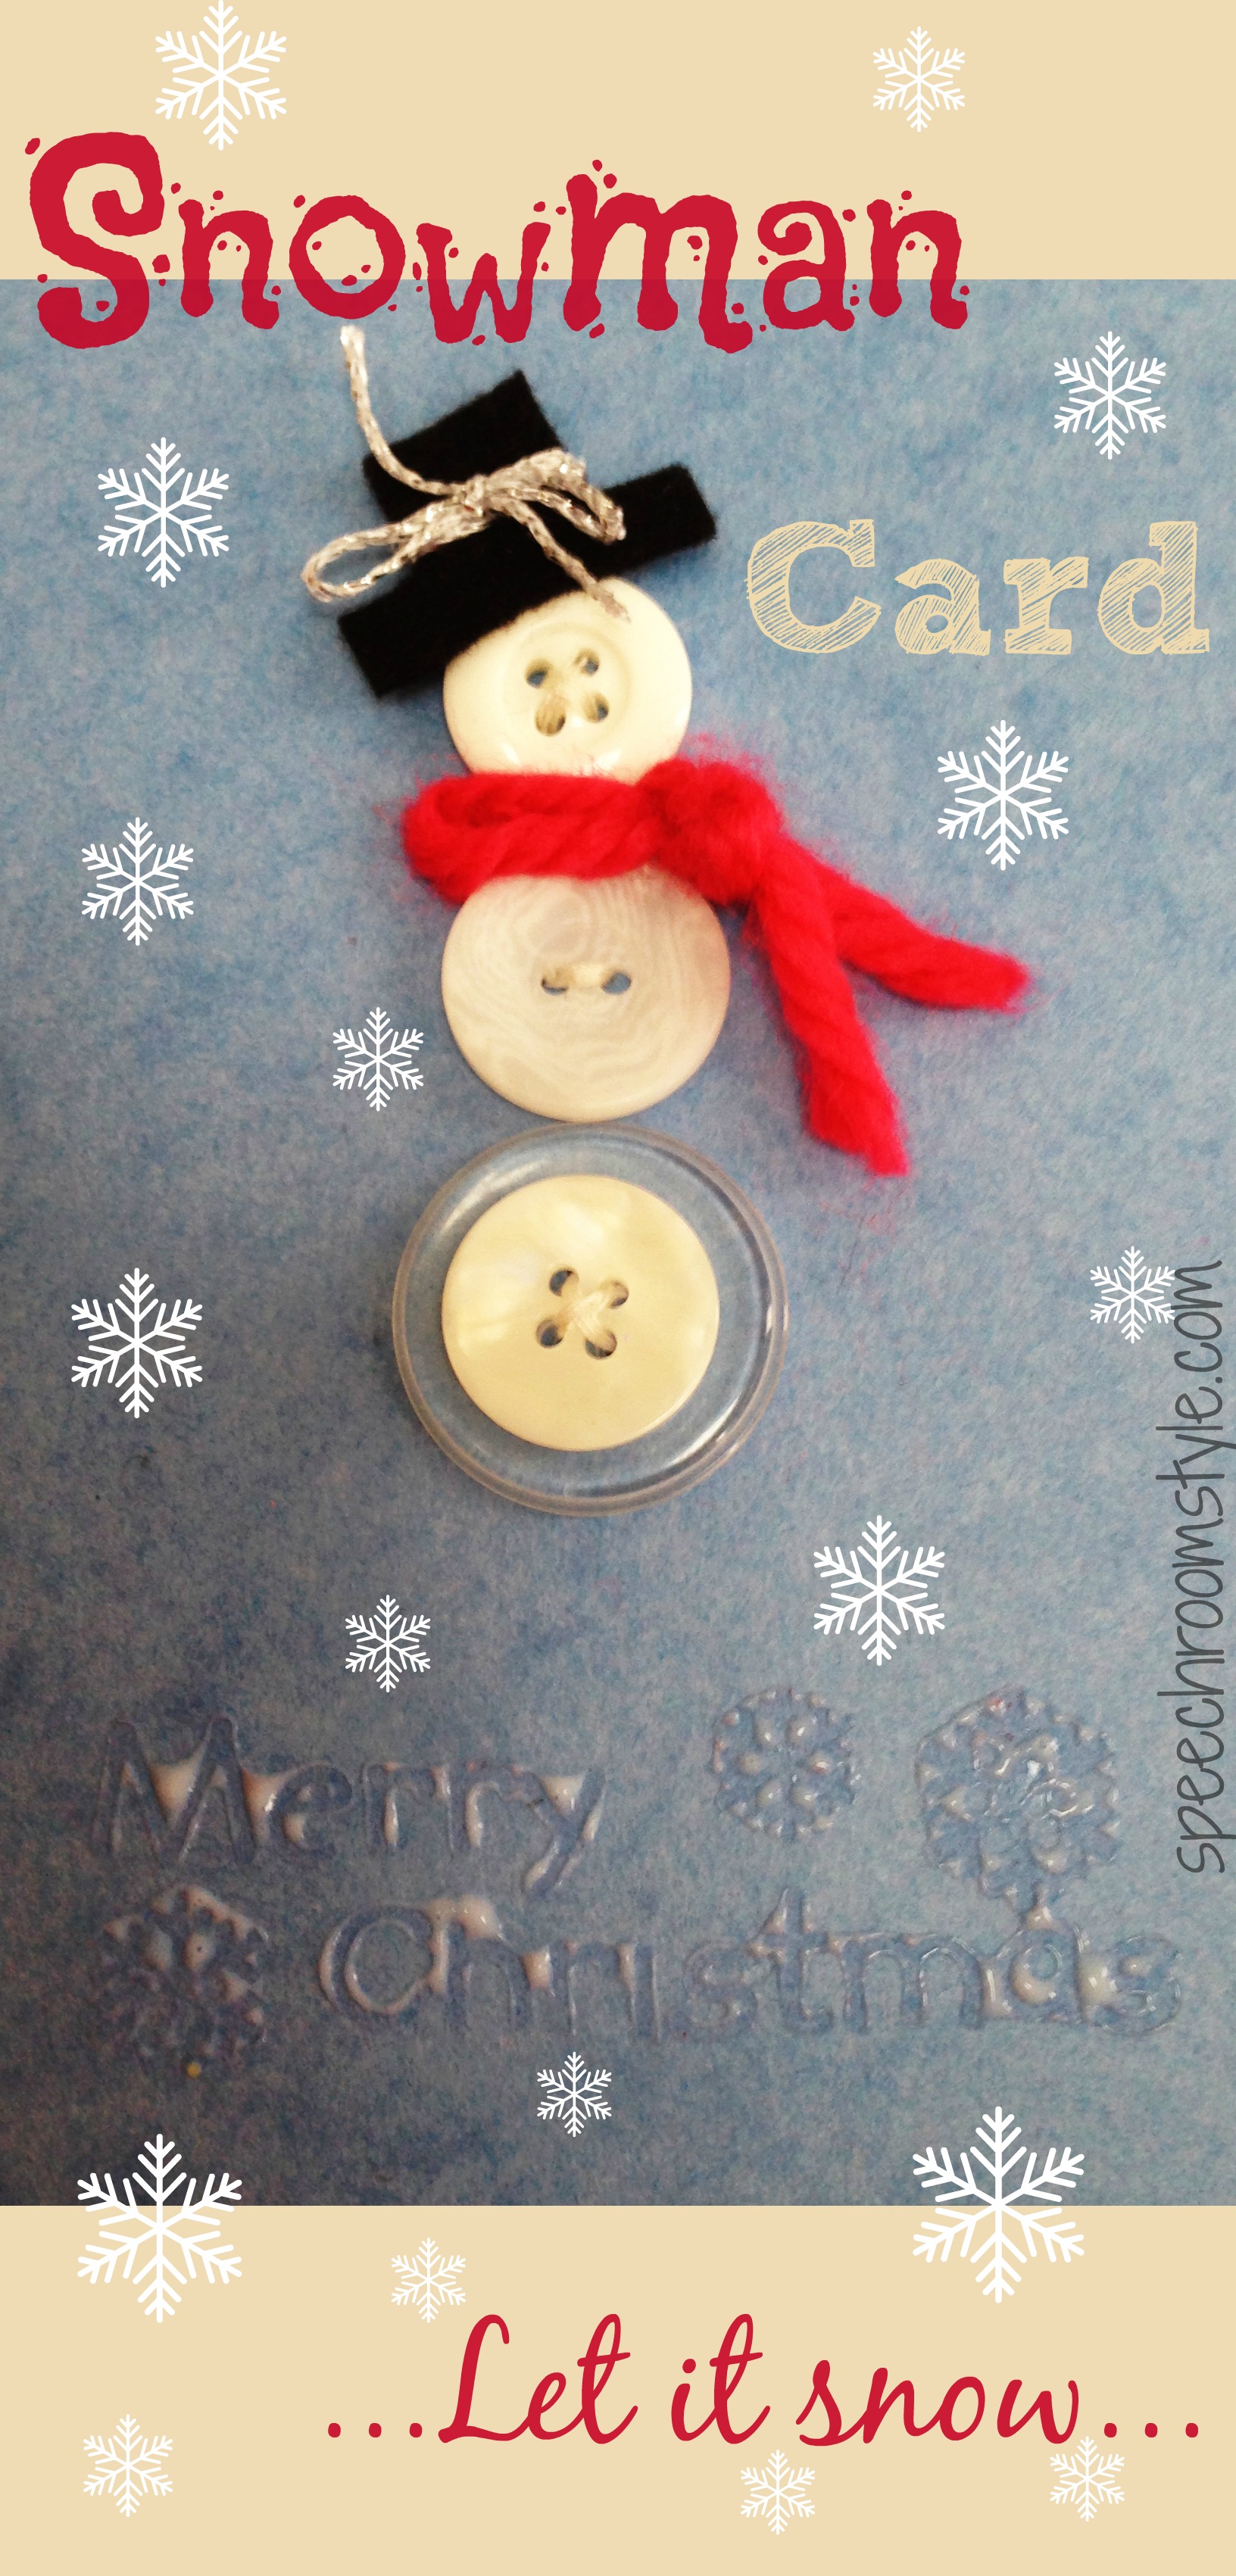
 We couldn’t do a Christmas Craft series and omit the essential Christmas Card! We are loving the many ways that buttons can be used in crafts and as some of our previous crafts have included buttons, we figured you would have some left over like us – making this card extra thrifty!
I made this using left over bits that I had from other crafts – it is so versatile and simple that you could easily do the same, but here’s the list of what I used: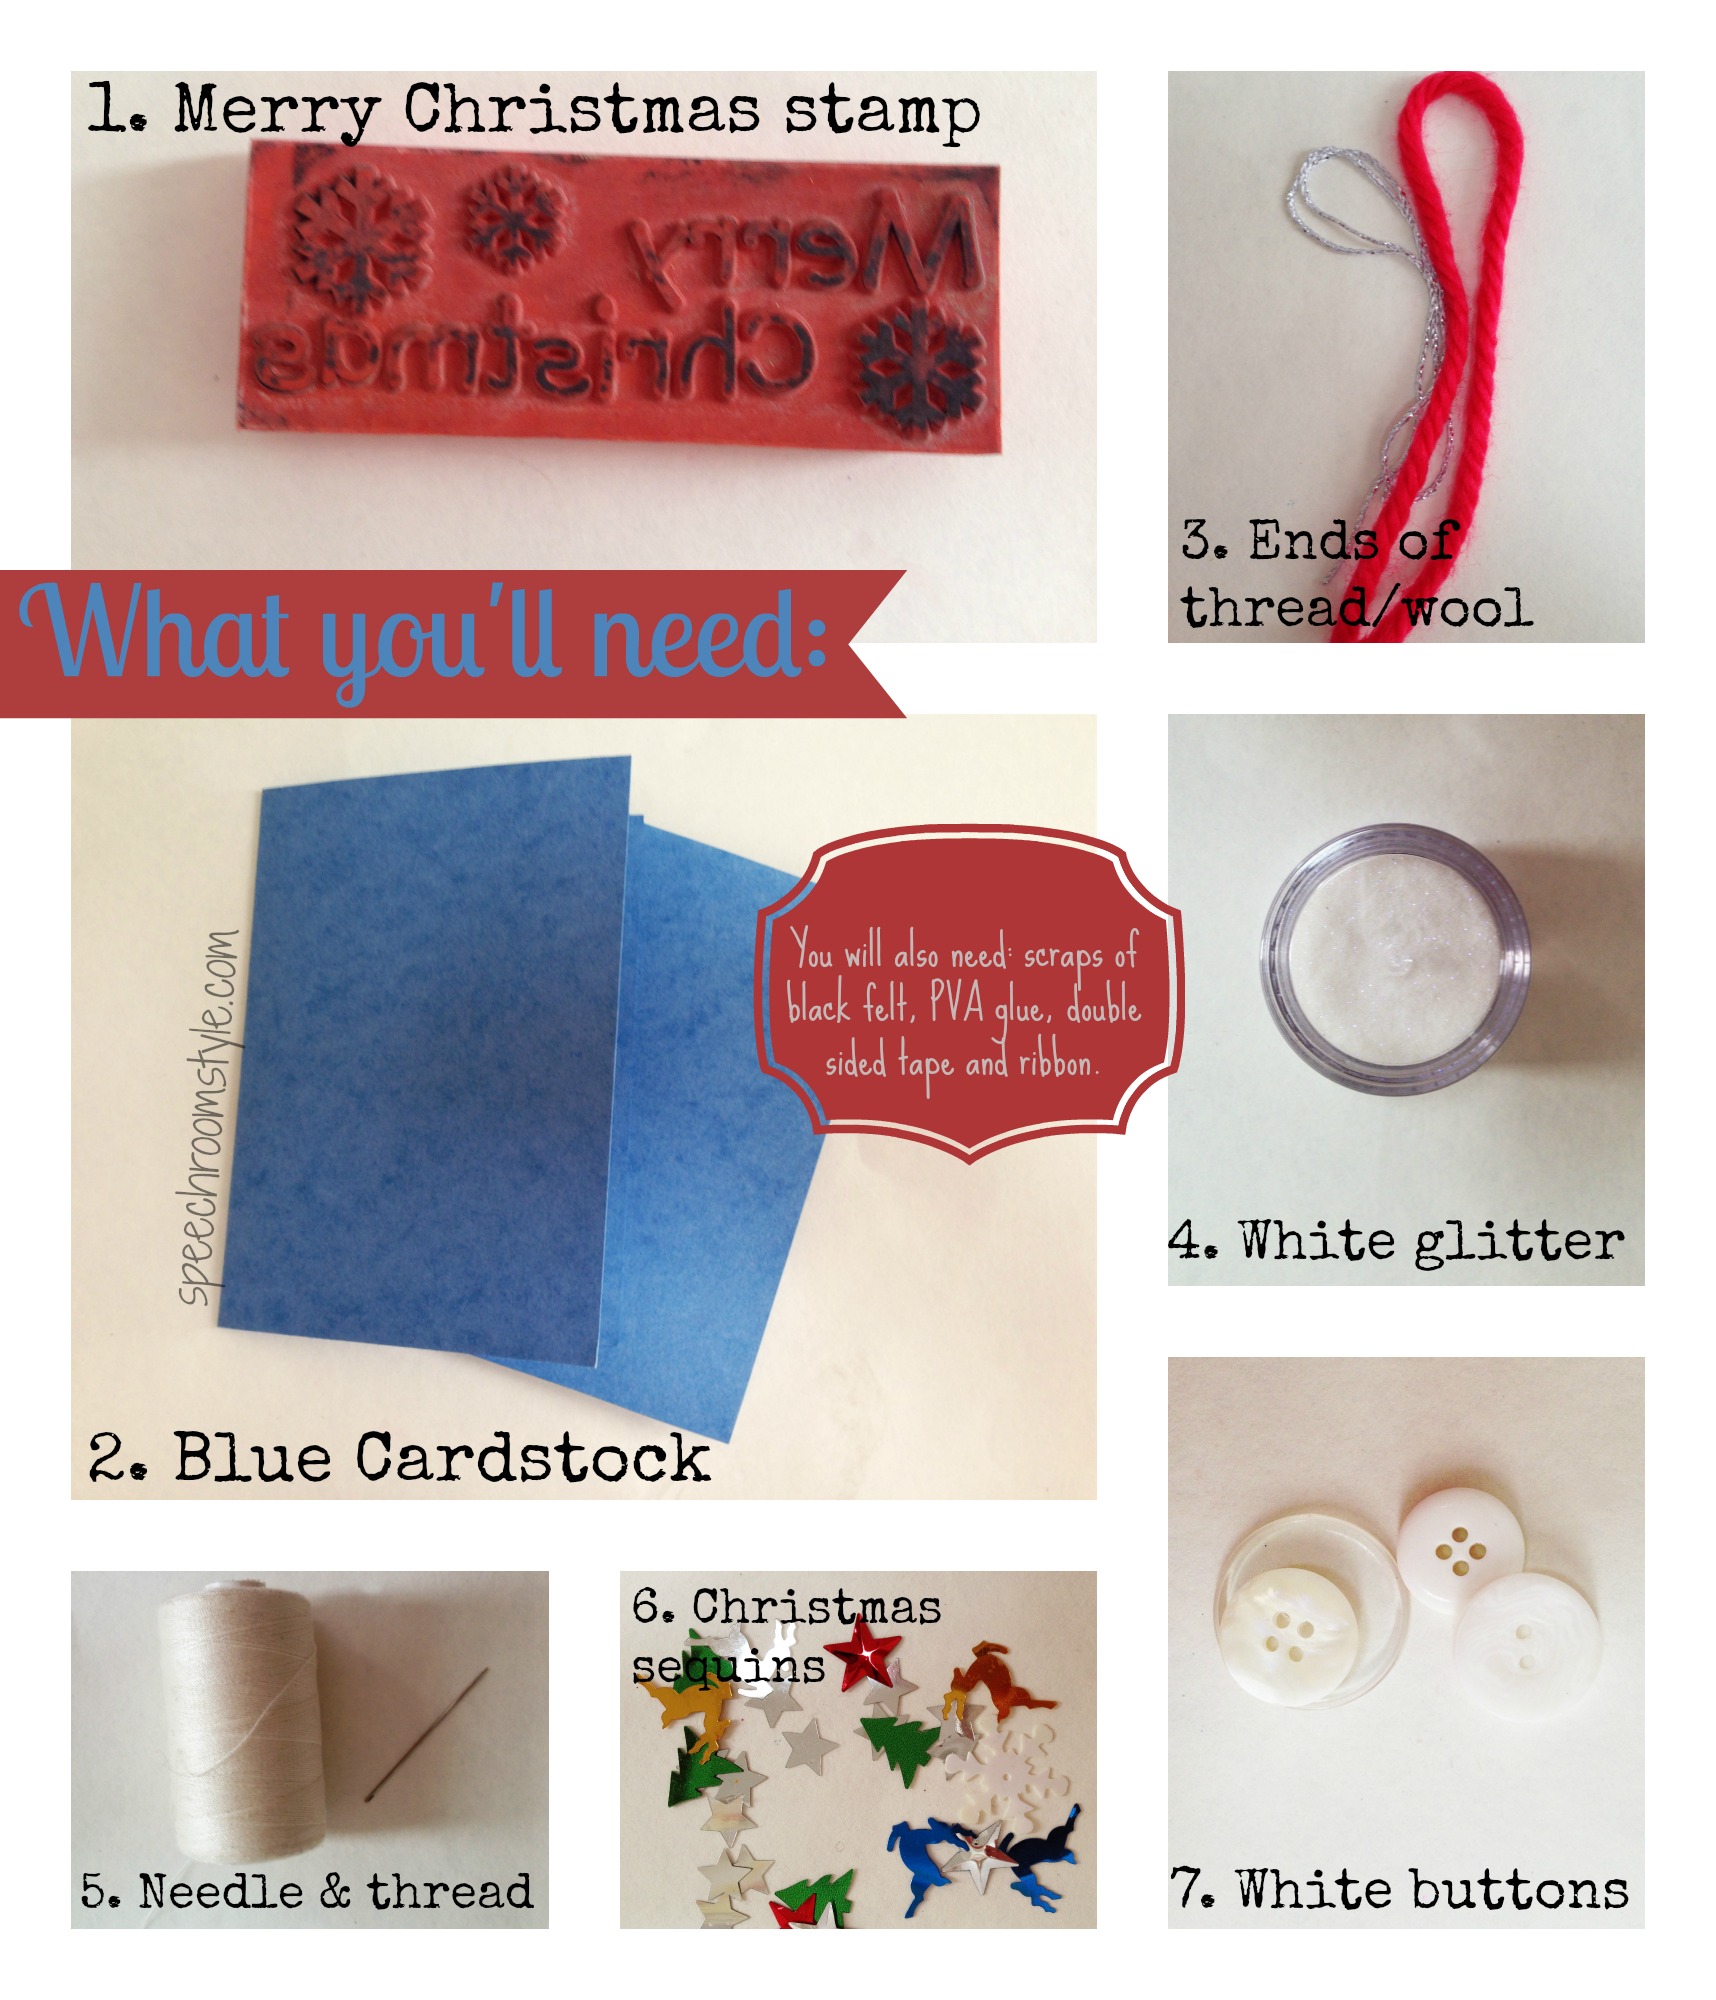 And this is how it’s made:
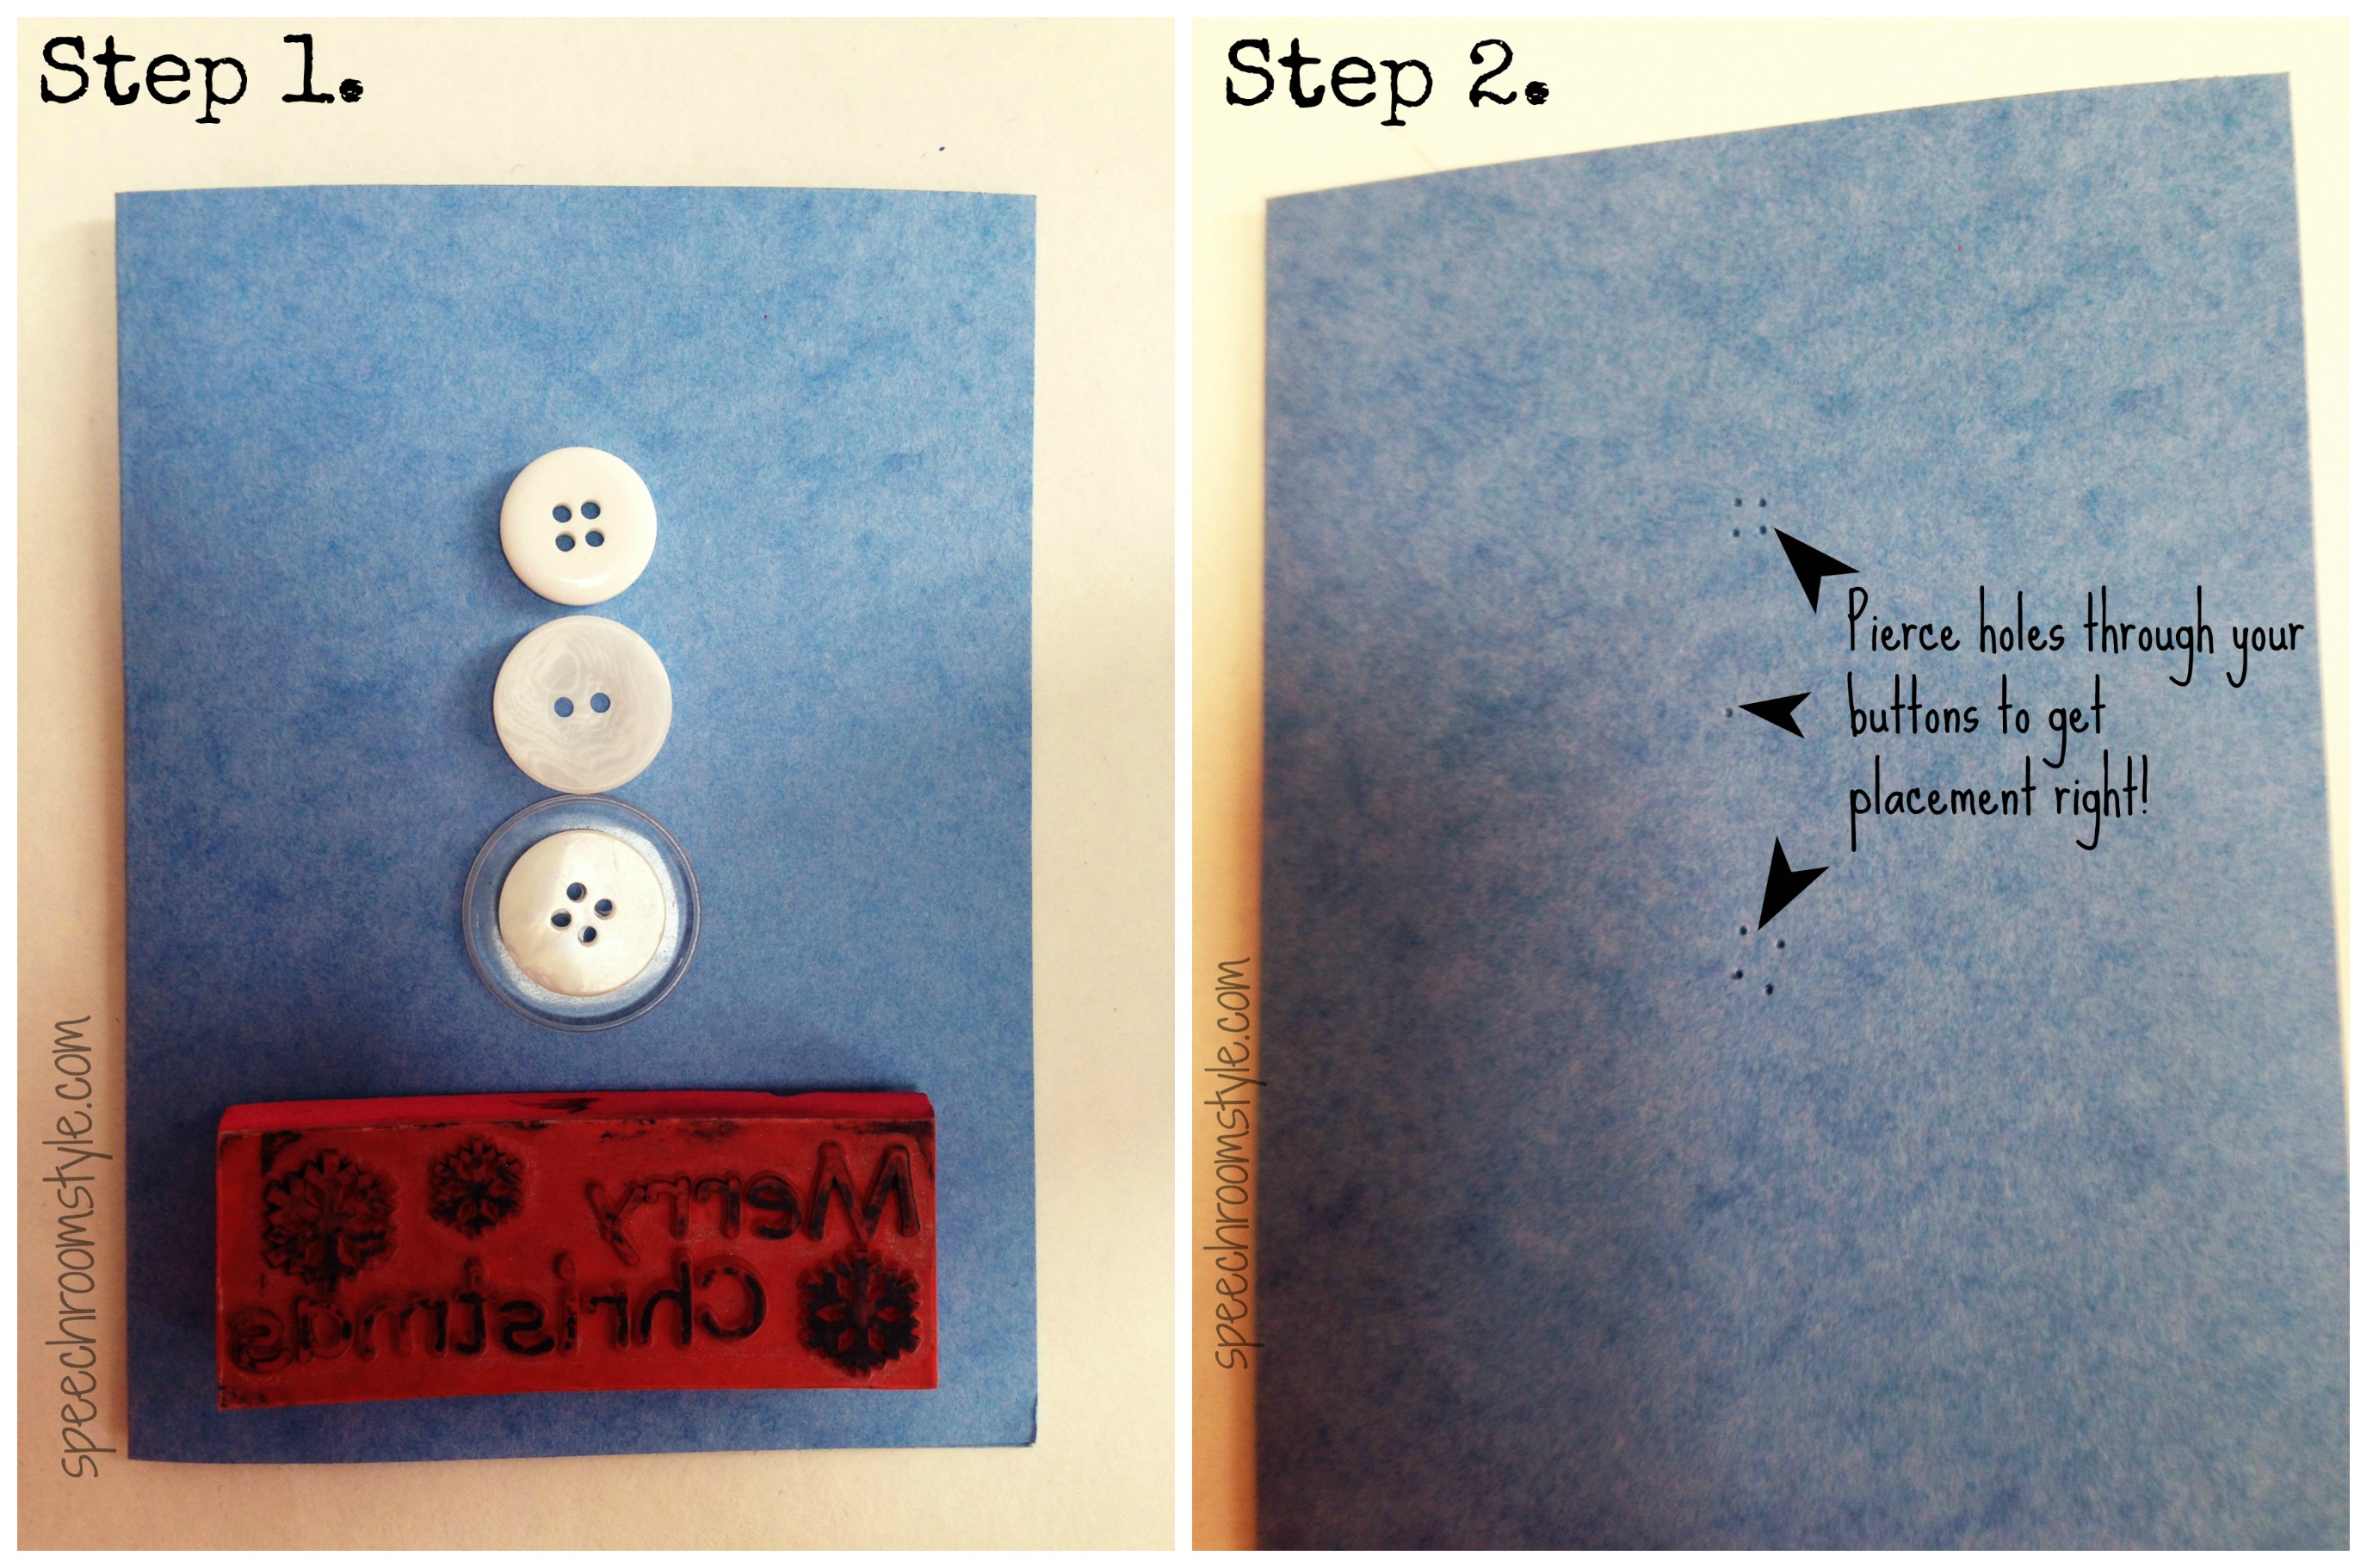
- Arrange your buttons on the card to make a snowman shape. Place your stamp on too to make sure it all fits!

- Next, using a needle, pierce holes through the card through your buttons – just to make sure that the buttons end up where you want them!
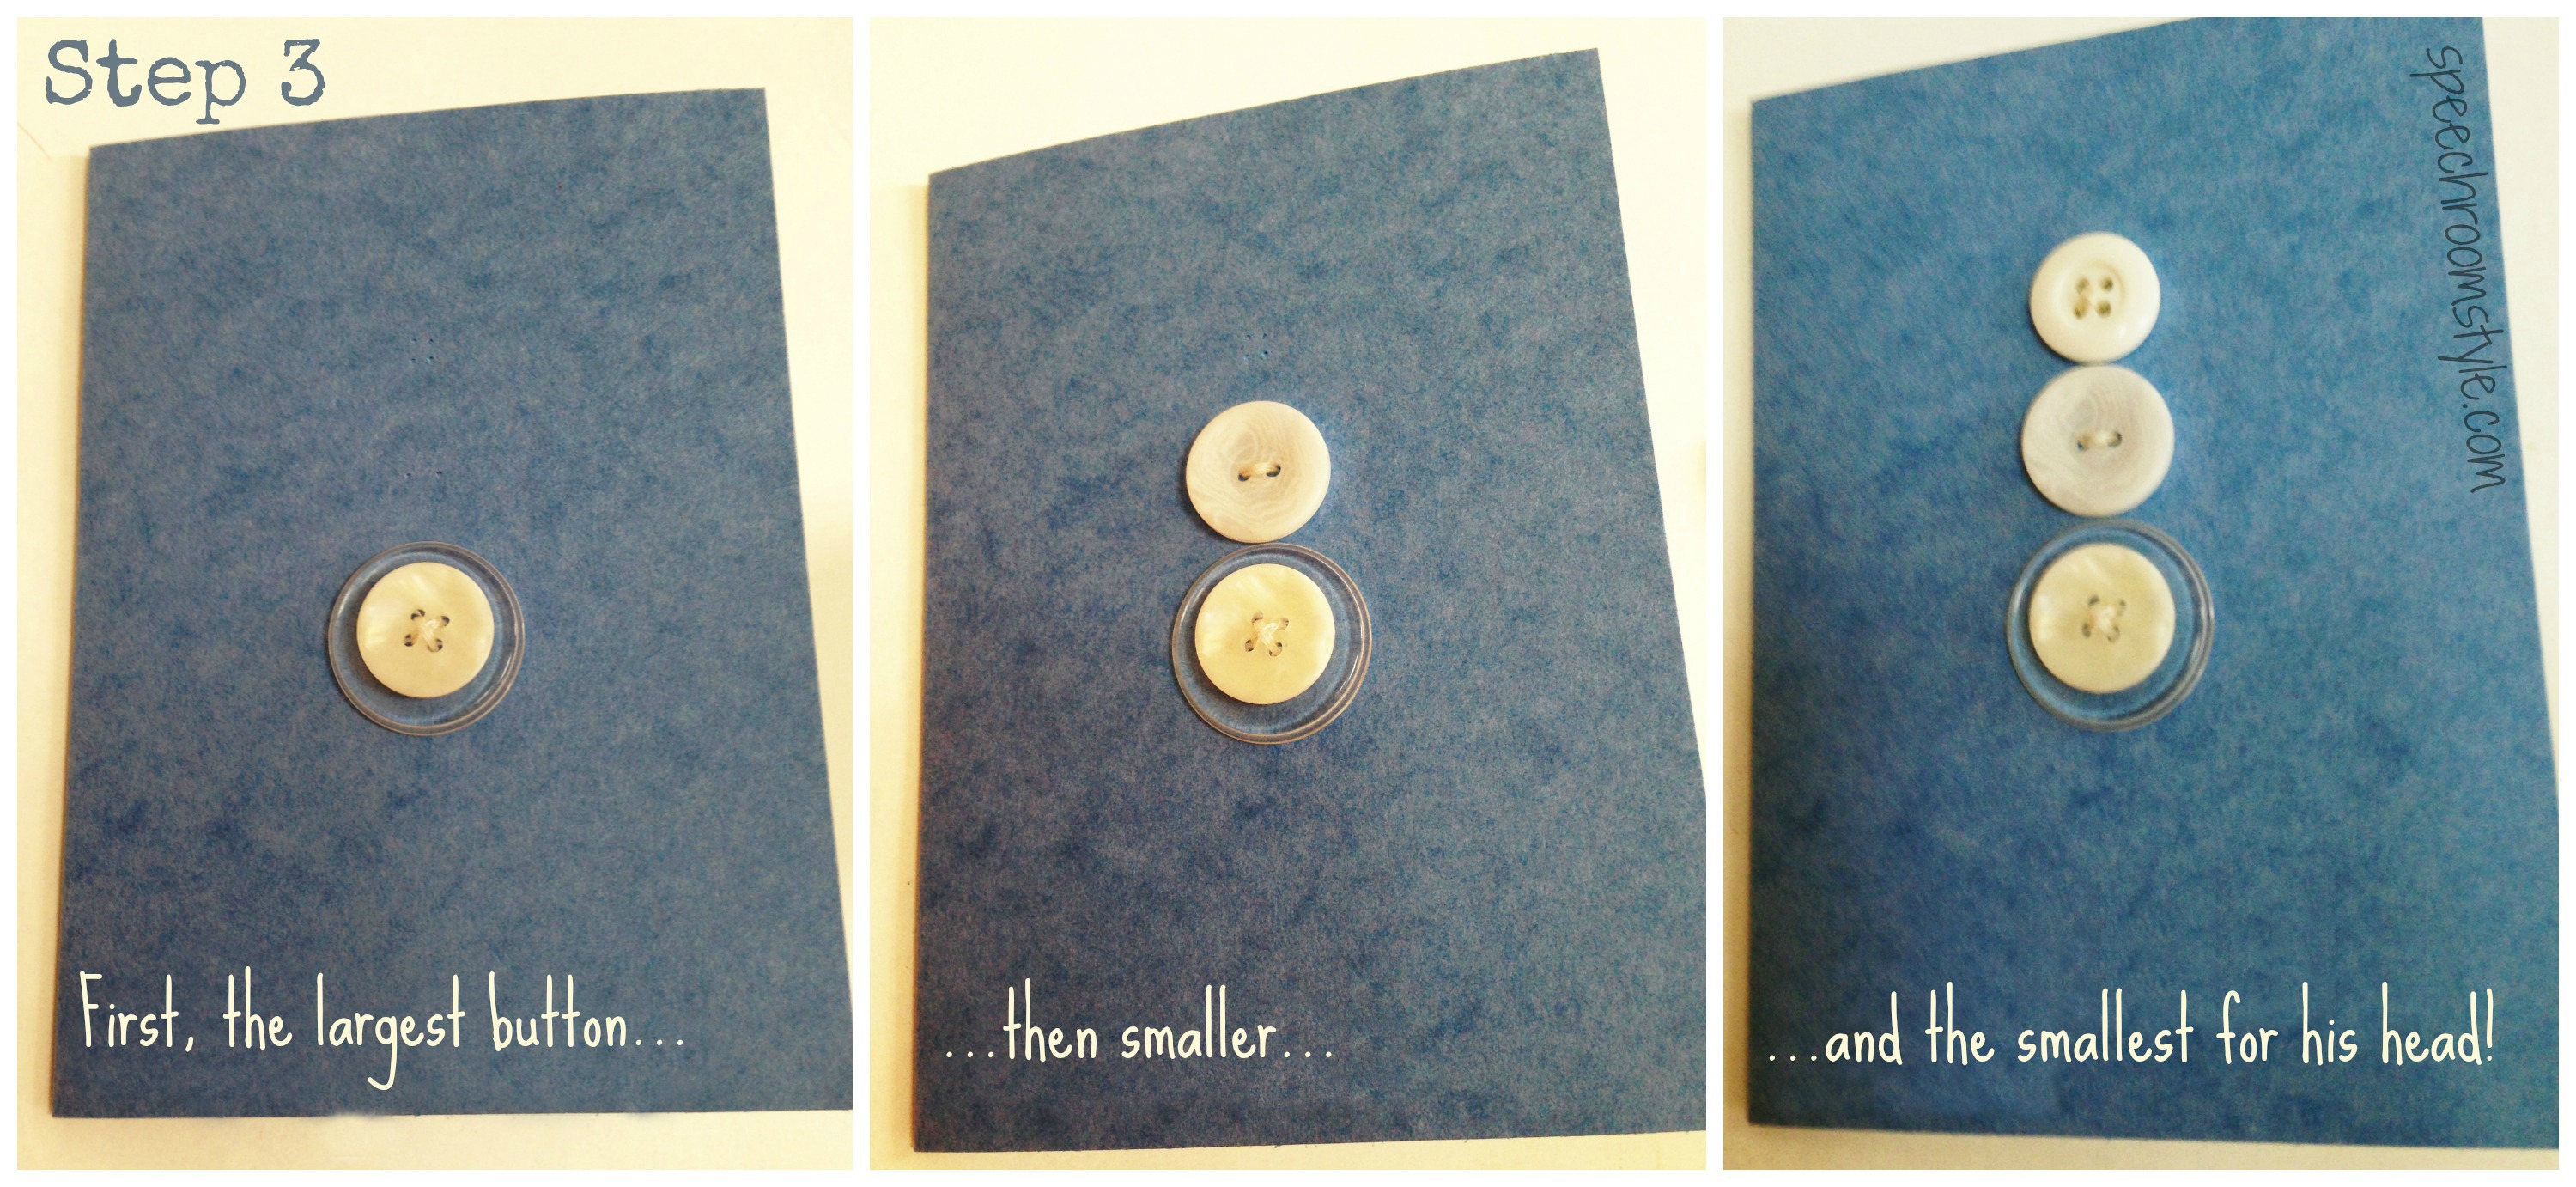
- Now using the needle and thread, sew your buttons into place like this:

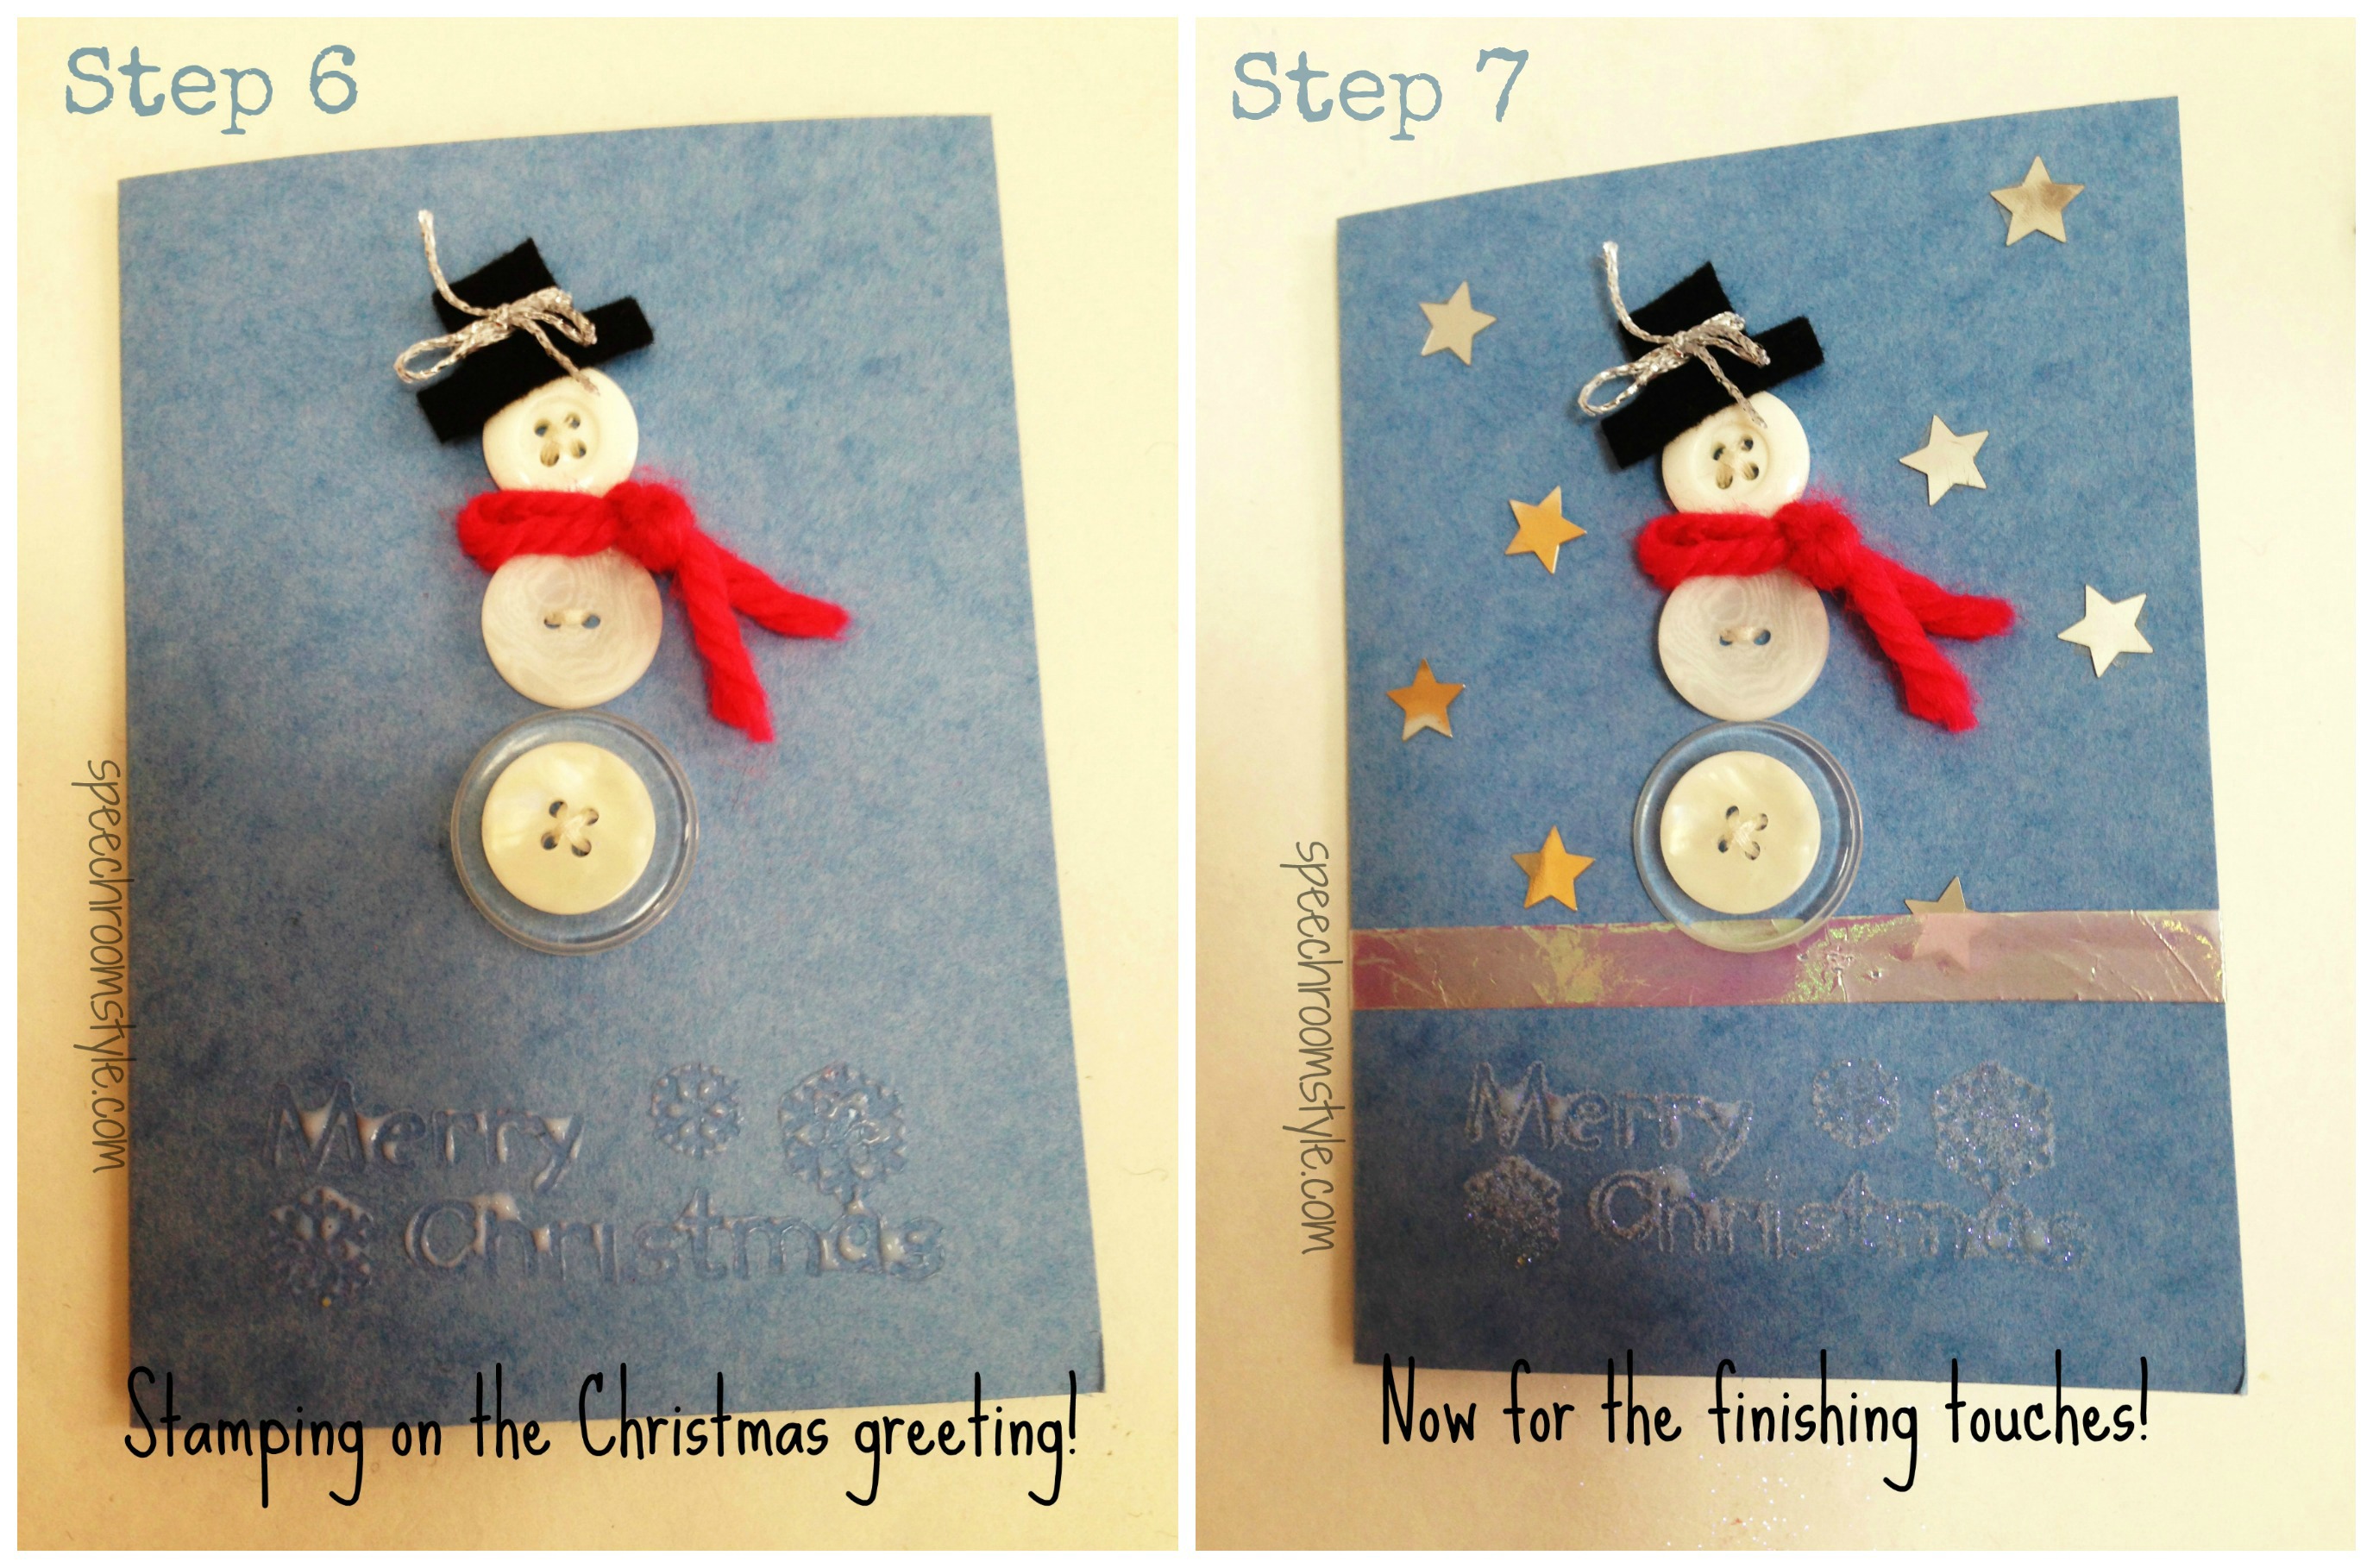
- Then cut a hat shape from your black felt, decorate it with a silver thread bow and glue in place on top of the snowman’s head.
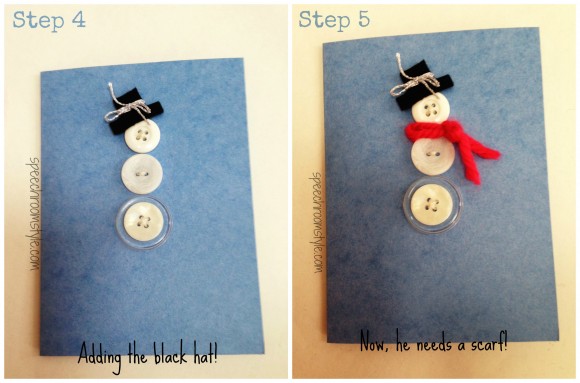
- Knot your red wool into a ‘tied scarf’ shape and stick onto your snowman using double sided tape.
- Now you will need to add your greeting! Dip your ‘Merry Christmas’ stamp in glue and stamp onto card, sprinkle glitter on top and shake excess glitter off.
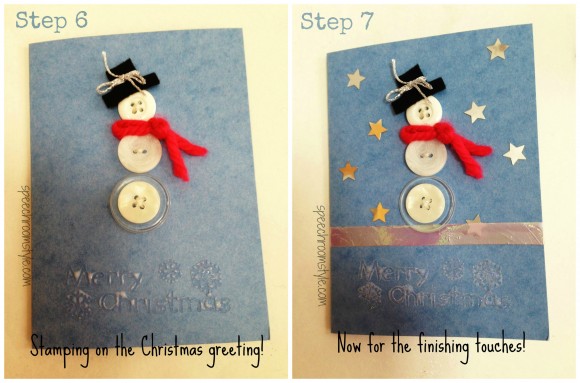
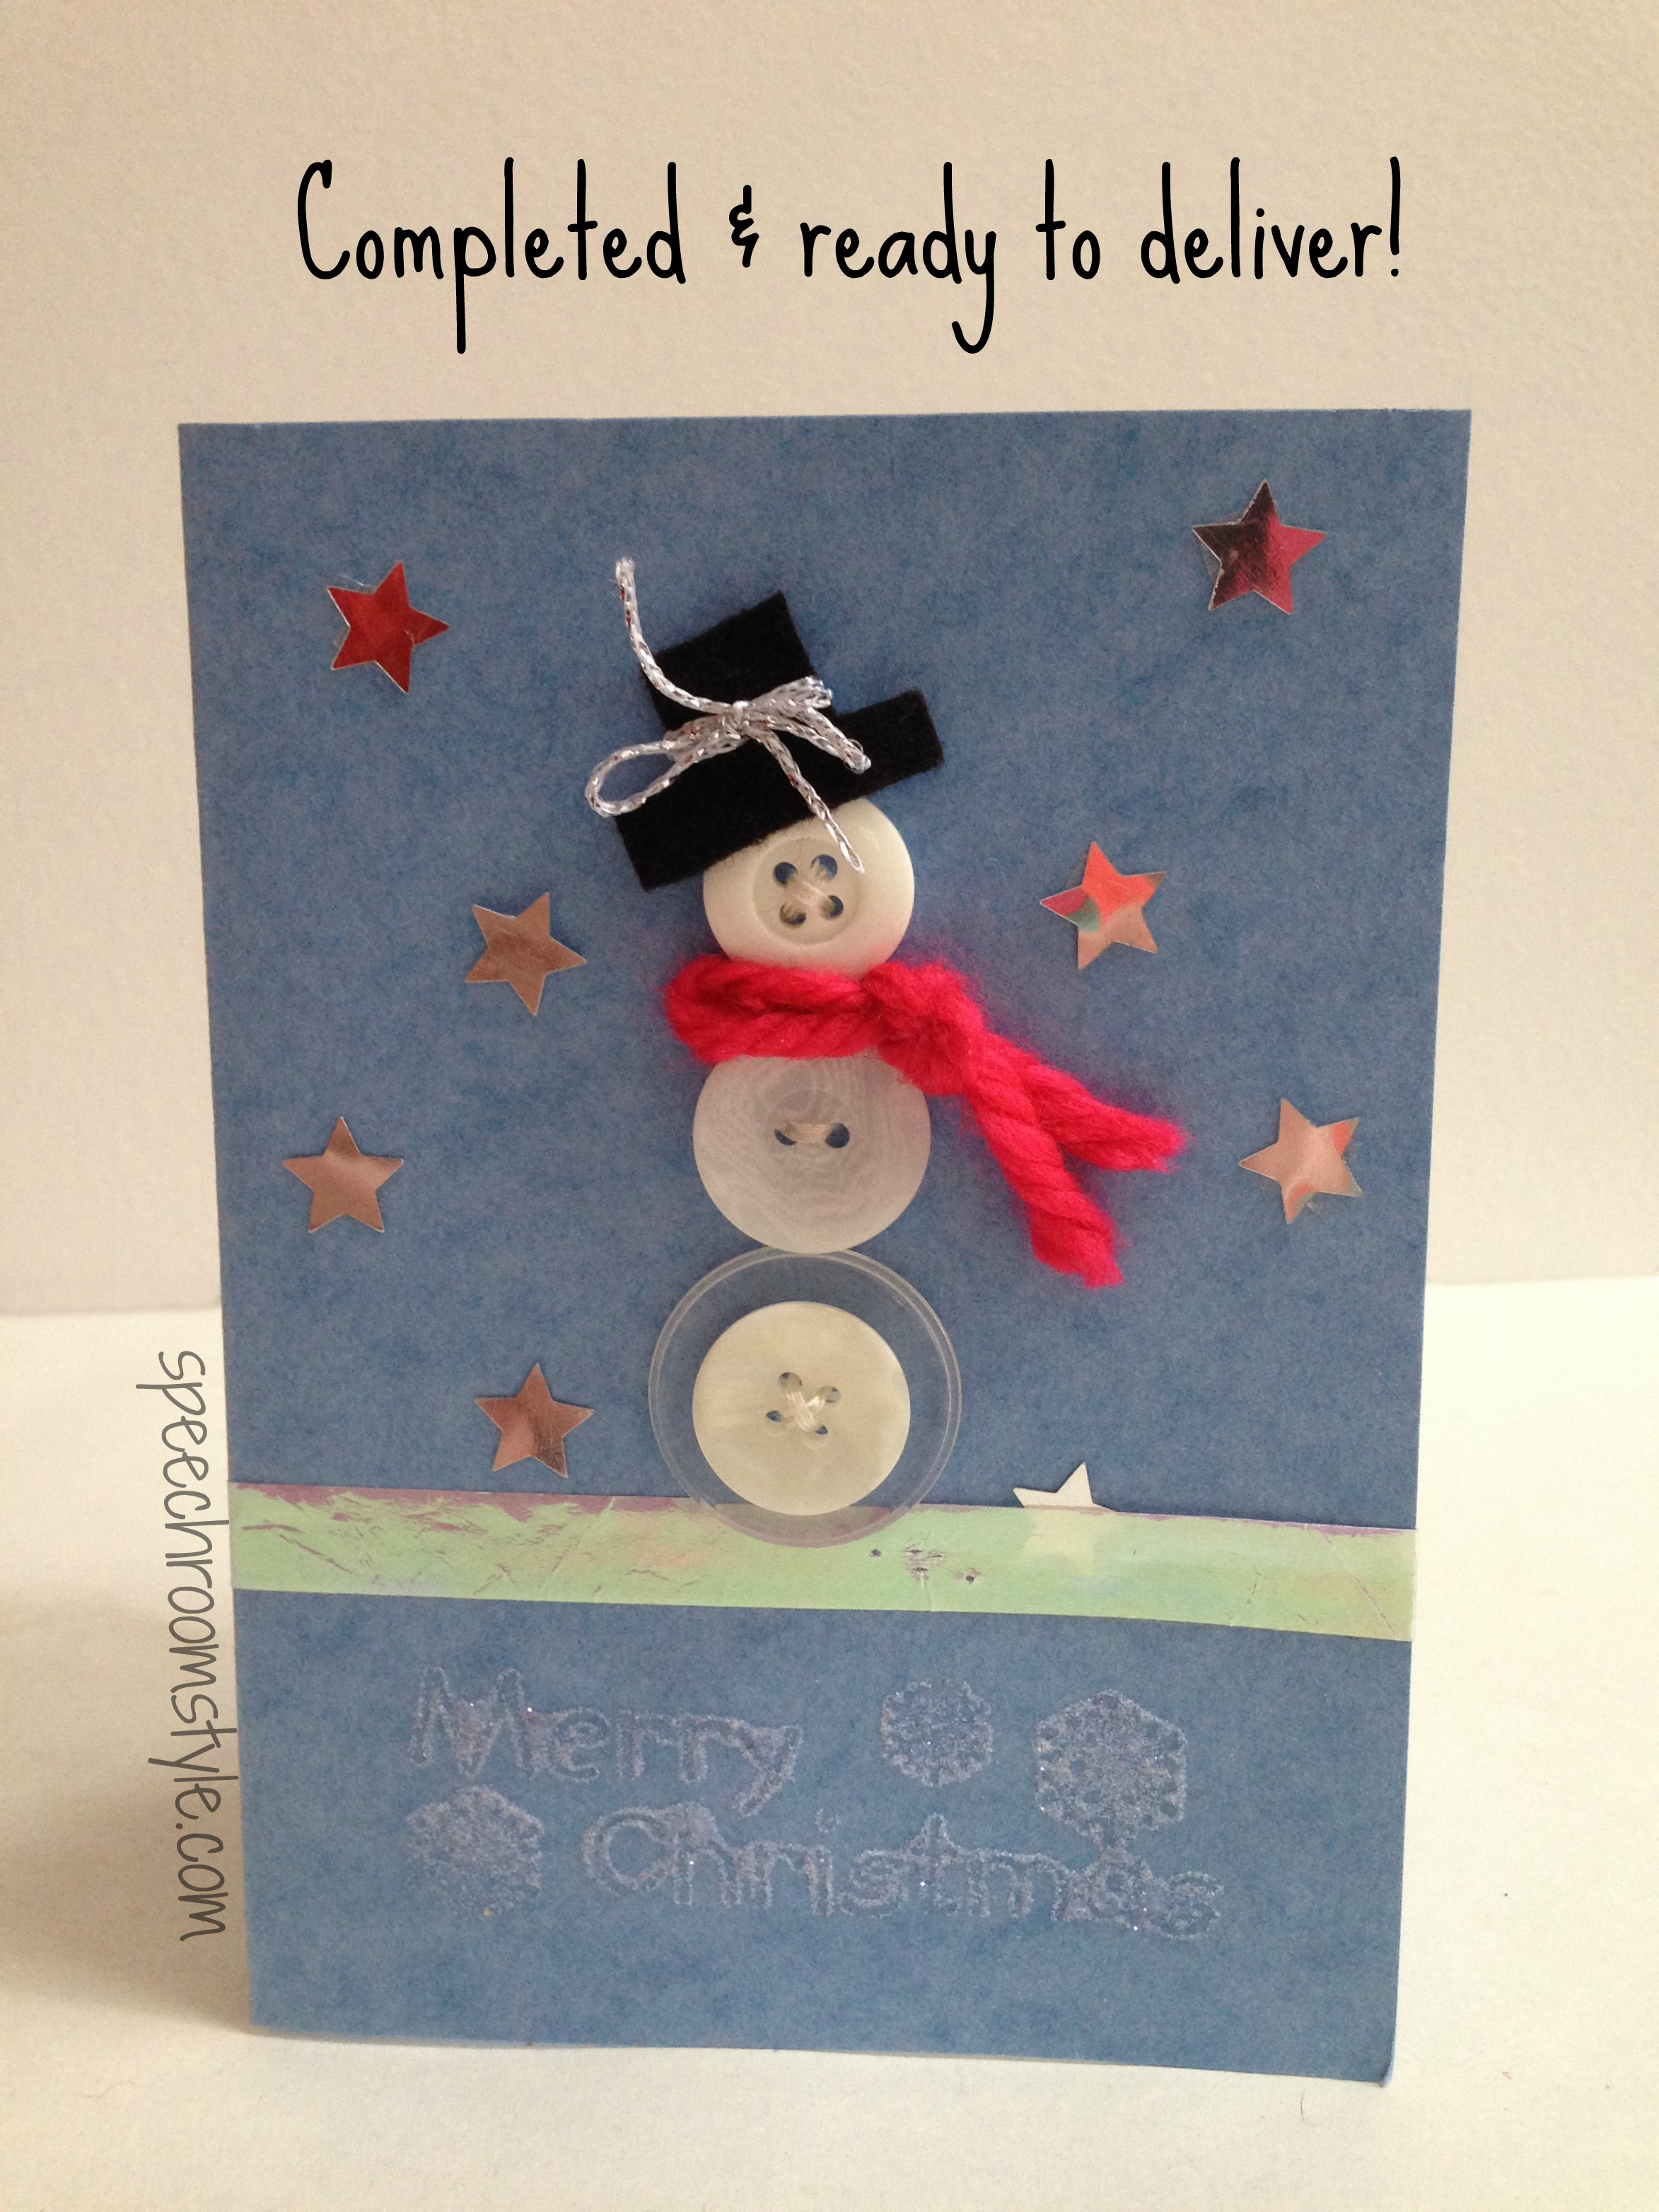
- Lastly, add the finishing touches to your card! I’ve added silver stars and a ribbon along the bottom of the snowman to finish mine.

And now your card is finished and ready to be mailed!
 Still one Christmas Craft remaining – stay tuned!


Leave a Comment