
![]() Have you embraced the chevron pattern trend? Are you ready to start decorating with chevron patterns? There are numerous projects from wall art to light switch plates, but today I will show you how to make chevron letters out of air-drying clay. This project is appropriate for both kids and adults and can be completed in an afternoon or less. Happy crafting!
Have you embraced the chevron pattern trend? Are you ready to start decorating with chevron patterns? There are numerous projects from wall art to light switch plates, but today I will show you how to make chevron letters out of air-drying clay. This project is appropriate for both kids and adults and can be completed in an afternoon or less. Happy crafting!
![]()
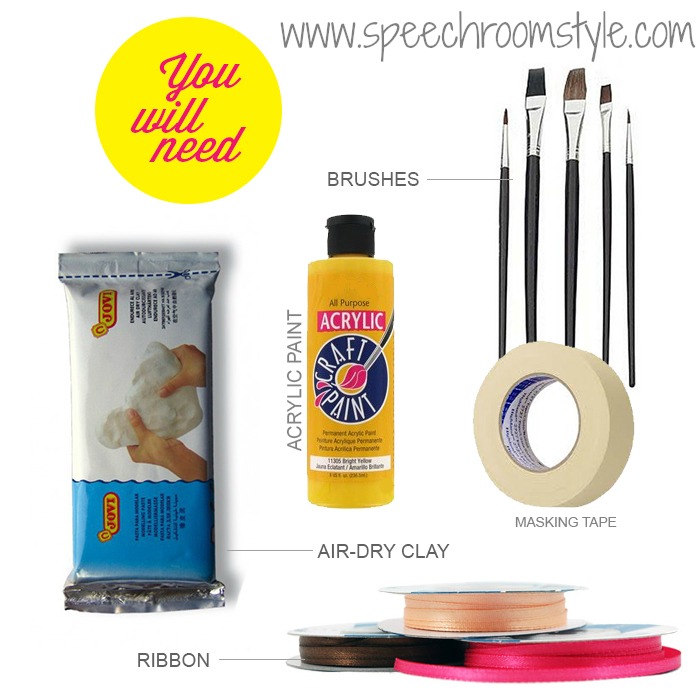 What You Need:
- Air-Dry Clay
- Acrylic Paint ( we’ve used yellow)
- Brushes
- Masking Tape
- Ribbon (in various colors)
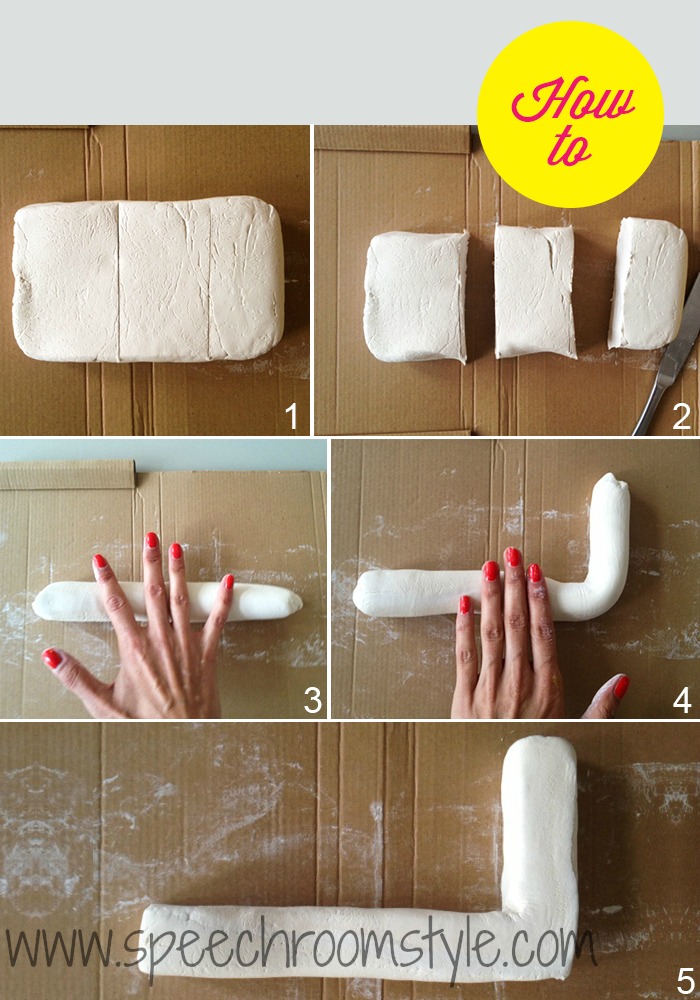
How To (Part One):
- Unpack the air-drying clay.
- Cut it in three equal pieces.
- Start to roll each piece until it is approx. 8inch long.
- Carefully shape them into a the desired letter.
Flatten and smoothen all surfaces (you can use your fingers or a knife) , the edges should
all have about 90 degree angles.
Let it dry according to the instructions on the package. I let it dry over night.
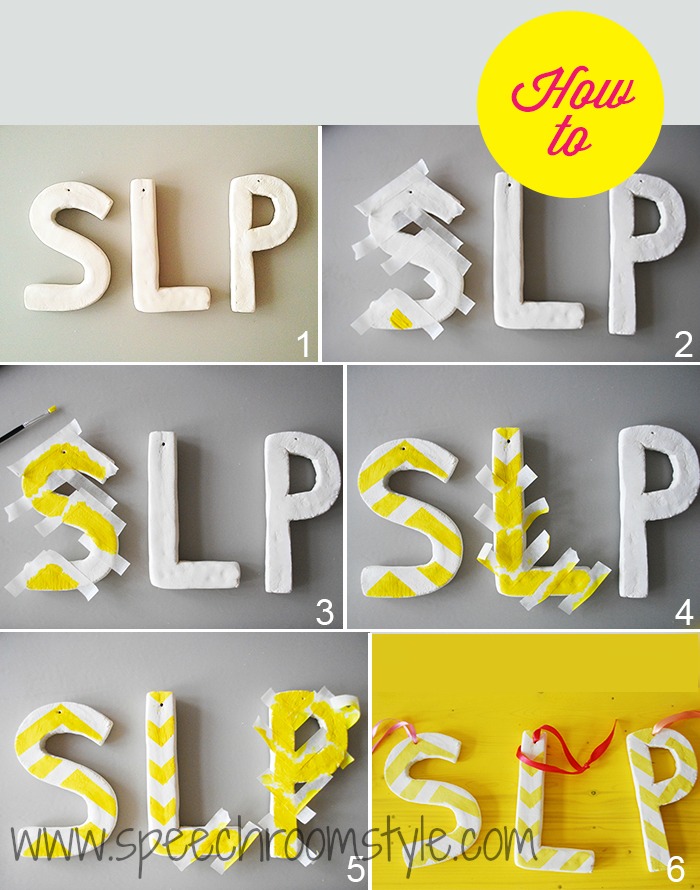
How To (Part Two):
- Punch a little hole in each letter, this is where we attach the ribbon later.
- Cut masking tape in little strips, about 1inch long and start taping the first letter.
The tape should be the shape of a 90 degree angle. Press the tape firmly onto the letter and start painting.
- Repeat step 3.
- Repeat step 3. Let the paint dry for 10 minutes and then remove the tape.
- Run the ribbon through the little holes and you are finished.
PS – you may also like to read…
…Don’t you just love owls? I think this little guy would make a great mascot for the ‘clever little owls’ in your speech room!…Read more…
…Do you struggle to keep your students motivated during speech drills and other table top exercises? Then read on because brain breaks might be just the solution you are looking for!…Read more…


Leave a Comment